|
<< Click to Display Table of Contents >> How do I change the name of a Level-2 (component Item) |
  
|
|
<< Click to Display Table of Contents >> How do I change the name of a Level-2 (component Item) |
|
To change the name of a Level-2 (Component Item),
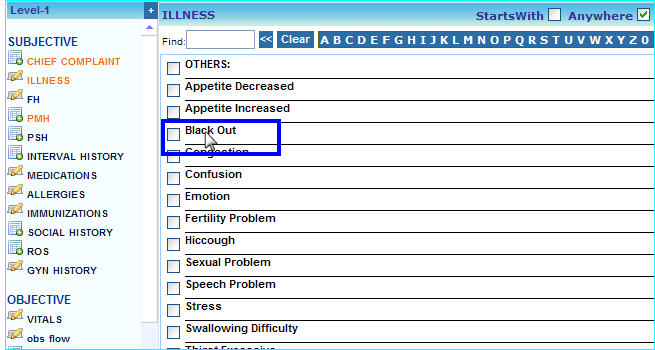
1. From the Charting screen, double click on the Level-2 (Component Item), the Edit Level-2 dialog box will appear.
2. In the Edit Level-2 dialog box, click in the Name box and erase the current name of the Level-2 and enter the new name.
3. Similarly change the Code and Description to match the new name.
4. Click the Save button and close this chart. Reopened the Charting screen to make this change effective.
|
| i. | From the Charting screen, double click on the Level-2 Black Out as shown below. |
| ii. | In the Edit Level-2 dialog box that appears, click in the Name box and erase Black Out and type Nausea. |
| iii. | Click in the Code box and delete the previous code and enter Nausea. |
| iv. | Similarly click in the Description box and change the description. |
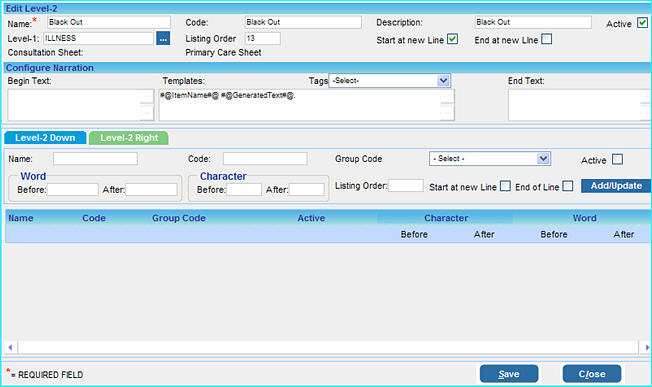
| v. | Click the Save button to update this change. |
| vi. | Now click the Close button on the charting screen and close this chart. From the Clinical Desktop, reopen the chart, the Level-2 Black Out will be renamed to Nausea. |
|