|
<< Click to Display Table of Contents >> Personalize - Schedule Colors |
  
|
|
<< Click to Display Table of Contents >> Personalize - Schedule Colors |
|
Click on Scheduler from the main menu
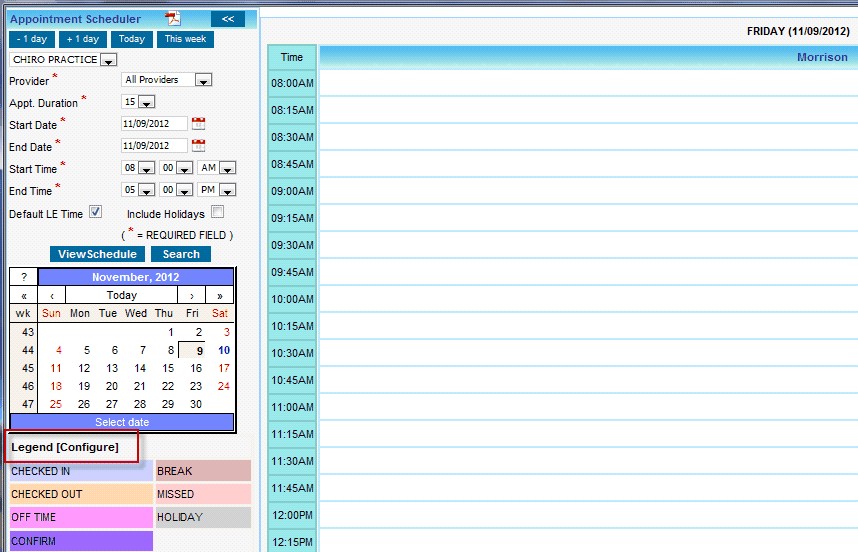
1. From the Appointment Scheduler window click on “[configure]”
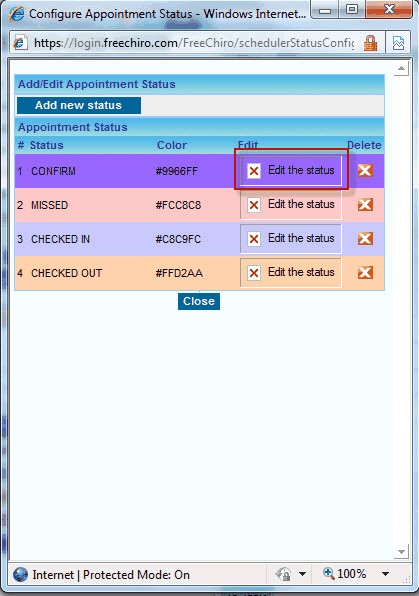
2. On “configure Appointment Status” window that pops up, click on “Edit the status” corresponding to the appointment status for which the color need to be changed.
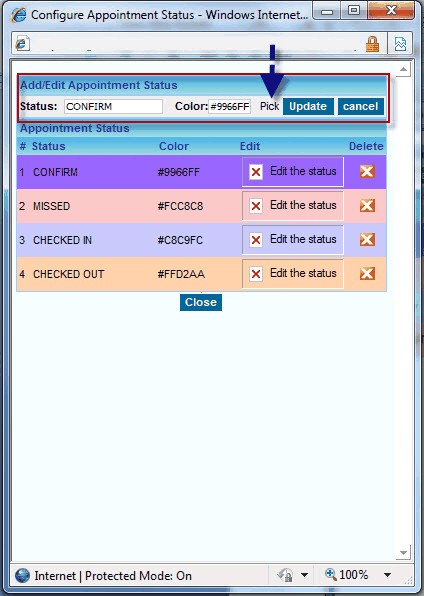
3. Click on “Pick”
The Status name can also be changed from this window
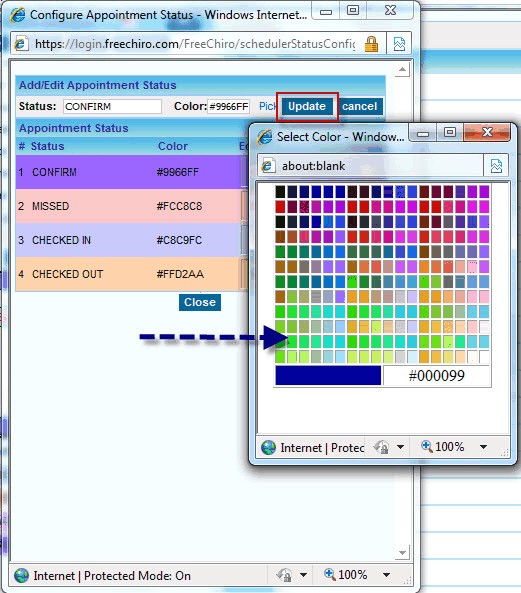
4. On the proceeding “Select Color” window that pops up, click on the desired color
5. Click on update.