|
<< Click to Display Table of Contents >> Payment Entry |
  
|
|
<< Click to Display Table of Contents >> Payment Entry |
|
1. Click on the Billing module and choose Payment Entry to open the screen as shown below.

2. Click the Add Payment Entry button as shown in the image above to open the Payment Entry screen.

The current Legal Entity and Provider will already be selected by default; but it can be changed if required by clicking in the respective boxes and choosing the appropriate option from the list.
3. To make a payment entry:-
(a) Choose the Acct Date (Accounting Date), Pmt Date and the Entry Date (Payment Date).
|
(b) Click in the Payment Type box and choose the correct payment type i.e. either REFUND/ COPAY/ DEDUCTIBLE/ PRE PAYMENT/ LIEN/ CLAIM/ COPAY/DEDUCTIBLE/SELF PAY etc.
(c) Select the appropriate Collected by option i.e. Front Office or Billing Office.
(d) Choose the correct Payor Entity and the corresponding Payor Name from the list. Also enter the Payor Code and Reference.
|
(e) In the Total Amount box enter the amount received. The Amount Applied and Amount Unapplied and will be updated according to the Payment Posting performed.
(f) Enter comments if any in the Comment box.
(g) PSTS#
PSTS# is the abbreviation for (PracticeSuite Ticketing System). If you are using the ticketing system, enter the ticket number for this payment entry. This ticket number will be displayed as a link while editing payment entry. If you are logged in to the PracticeSuite Ticketing System, you can click on this link to open the particular ticket and view the details/files pertaining to this payment entry. |
System can auto generate PSTS # when a new payment is added. The system will prefix the PSTS # with ‘I’ for Insurance payments and ‘P’ for Patient payments. The PSTS# auto generation can be turned on or off from the Billing Options screen under the Advanced Setup Menu.
(h) The Default Adjustment Code option lets you to set a default adjustment code for the lines in Payment Posting screen. You can change this if required from the Payment Posting screen.
(i) Click in the Pay Method box and choose the mode of payment from list. The details to be entered will change according to the Pay Method selected as mentioned in the table below.
CASH |
Enter the Amount in the box provided. |
CHECK |
The check number is compulsory, enter the number in the Check # box. You can also enter a Description if required and then the Amount and the Actual Check Amount. Also enter the Bank Name, Account # and the name of the Acct. Holder. |
CREDIT CARD |
The credit card number is compulsory, enter the number in the Credit Card # box and then select the Expiry Month and Year of the credit card. Choose the Card Type from the list i.e Master Card/Visa Card/American Express/ Discover etc and enter the amount in the Amount box. |
EFT PAY |
EFT is the abbreviation for Electronic Funds Transfer. The Card # is compulsory for EFT payments. Enter the Card number and the Reference #. Enter the Bank Name and the Amount. |
4. After entering all the required information, you have the following options to save this payment entry:
| • | Click Save to just save the payment entry and obtain the payment number. |
| • | Click Save & Apply automatically opens the Payment Posting screen for this Payment entry. |
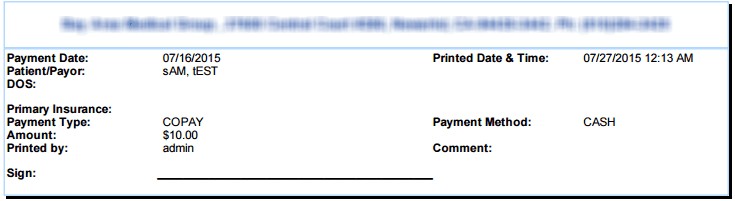
| • | Click the Save & Print button to save this payment entry and take a print out of the receipt. The Payment Receipt will be displayed as shown below. |