|
<< Click to Display Table of Contents >> How to add patient's image |
  
|
|
<< Click to Display Table of Contents >> How to add patient's image |
|
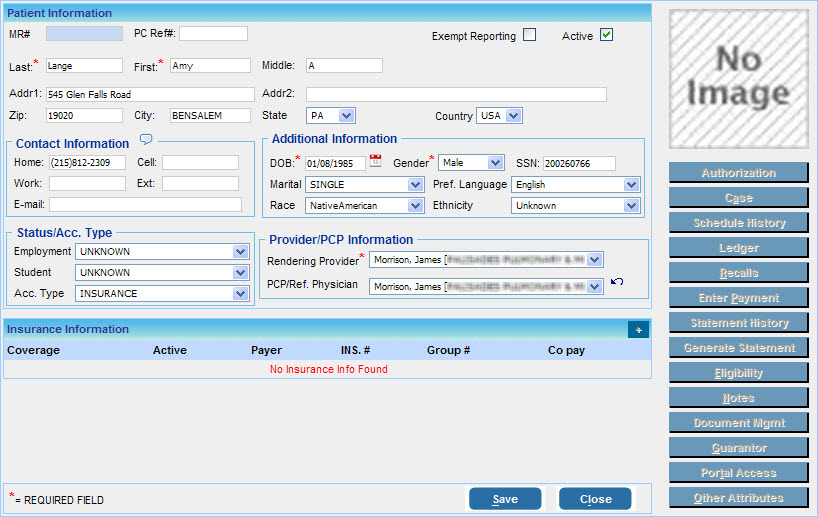
Before adding a patient's image, the Patient Information page must be completed and saved.
1. To add an image for a new patient, a webcam or camera should be connected to your computer.
If you do not have a webcam or if you already have a patient image on your computer, click on the No Image area and use the Browse button to select patient image from your computer and then click the Upload & Save button to save the patient's image.
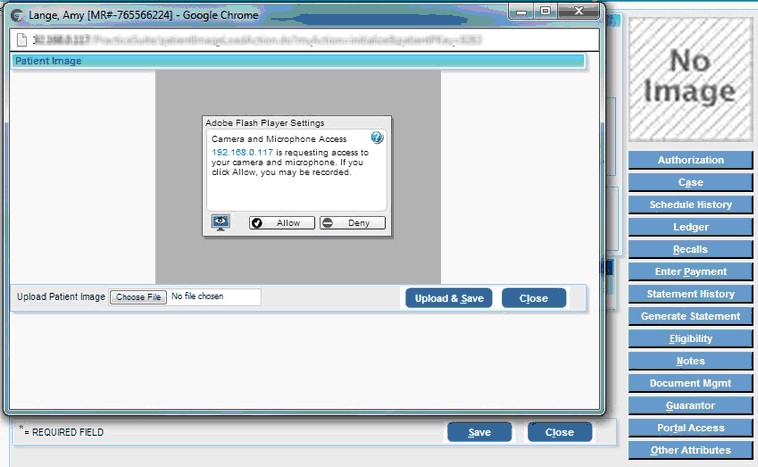
2. Click in the No Image display area, if a webcam is connected to your computer, the Patient Image pop up will appear as shown below. In the Adobe Flash Player Settings dialog box that appears, click the Allow button to grant Camera access to capture an image using the webcam.
3. Adjust the webcam to capture the image of the patient, and when ready, click the Upload & Save button. The image of the patient will be captured and immediately updated in the image section as shown below.
Note:- If a webcam is not connected, a "No camera was detected" message will be displayed. Connect your webcam to the computer and then click on the link provided.
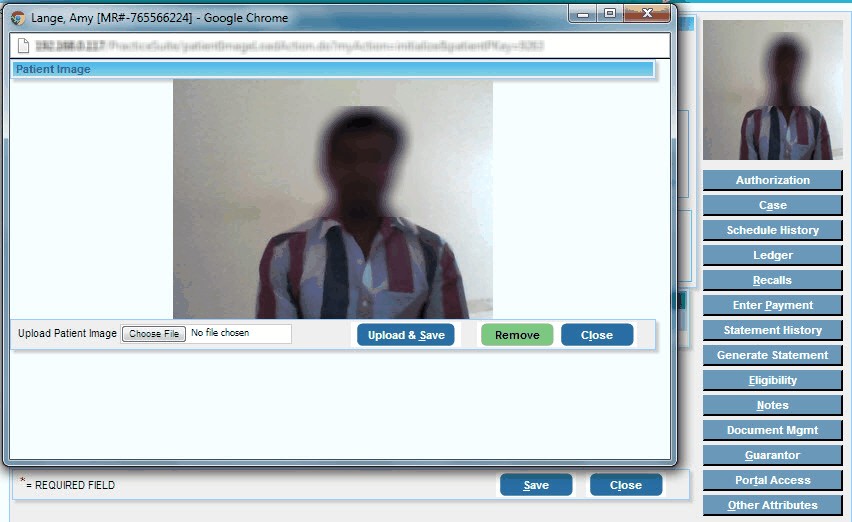
4. Click the Close button on the Patient Image screen to go back to the Patient Information page.