|
<< Click to Display Table of Contents >> Authorization and Visits Tracking |
  
|
|
<< Click to Display Table of Contents >> Authorization and Visits Tracking |
|
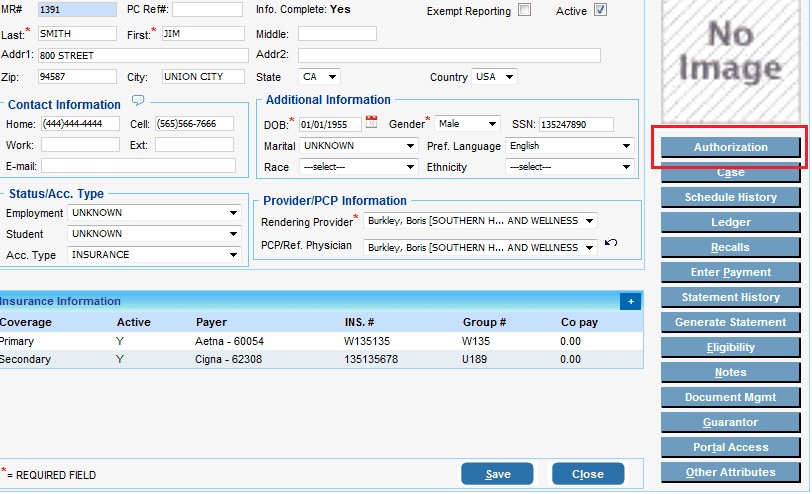
Authorization screen is accessed from the Patient Information page. To the right of the Patient information, click the first option named “Authorization” to access the screen.
The Authorization is auto tracked by the system and every use of an Authorization reduces the Visits Remaining from the total number of Visits. Creating an Auth also auto triggers an alert that can be seen on selecting the patient in Charges, Payments and E.H.R screens.
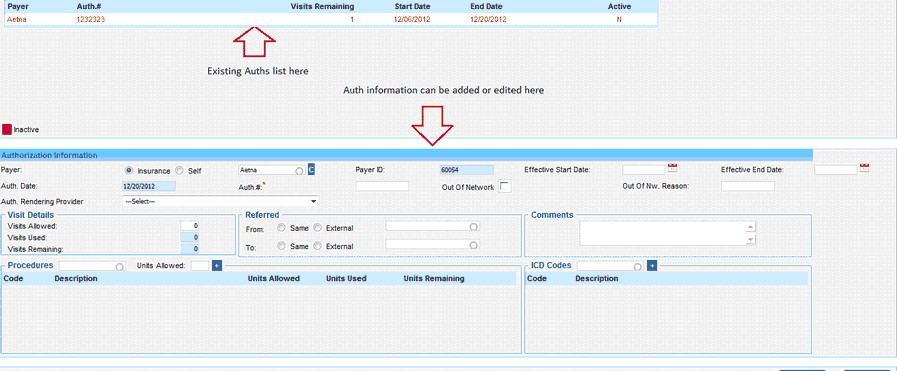
There are 2 sections on the Auth screen – the top section shows the existing Auths and the bottom section – “Authorization Information” is used for adding a new Auth or editing the information on the existing Auth.
Here are the steps to add a new Auth. and use the Auth. on the patient’s charge
| 1. | Click the add - |
On the Authorization Information section, enter the mandatory information - Type, Insurance, Auth. # & Visits Allowed.
If the Type selected is – “Insurance”, please ensure the insurance selected here, matches the insurance added for the patient.
The rest of the fields are optional and can be used to view additional information on the Auth . After you enter the values to the fields, hit the Save button to have the Auth created. The new Auth will now appear on your patient’s list.
| 2. | The Auth can be selected in the Auth field of the Enter Charges or Edit Charges screen |

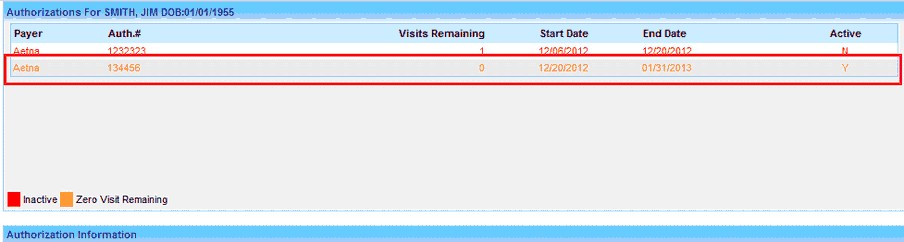
Any Auth with no visits remaining would appear with the colored text on the list as shown in the below image.
Selecting an auth with ‘0’ visits remaining on the ‘Enter Charges’ screen will alert the user with a message – “This visit exceeds the total # of visits allowed”.